
Table of Contents
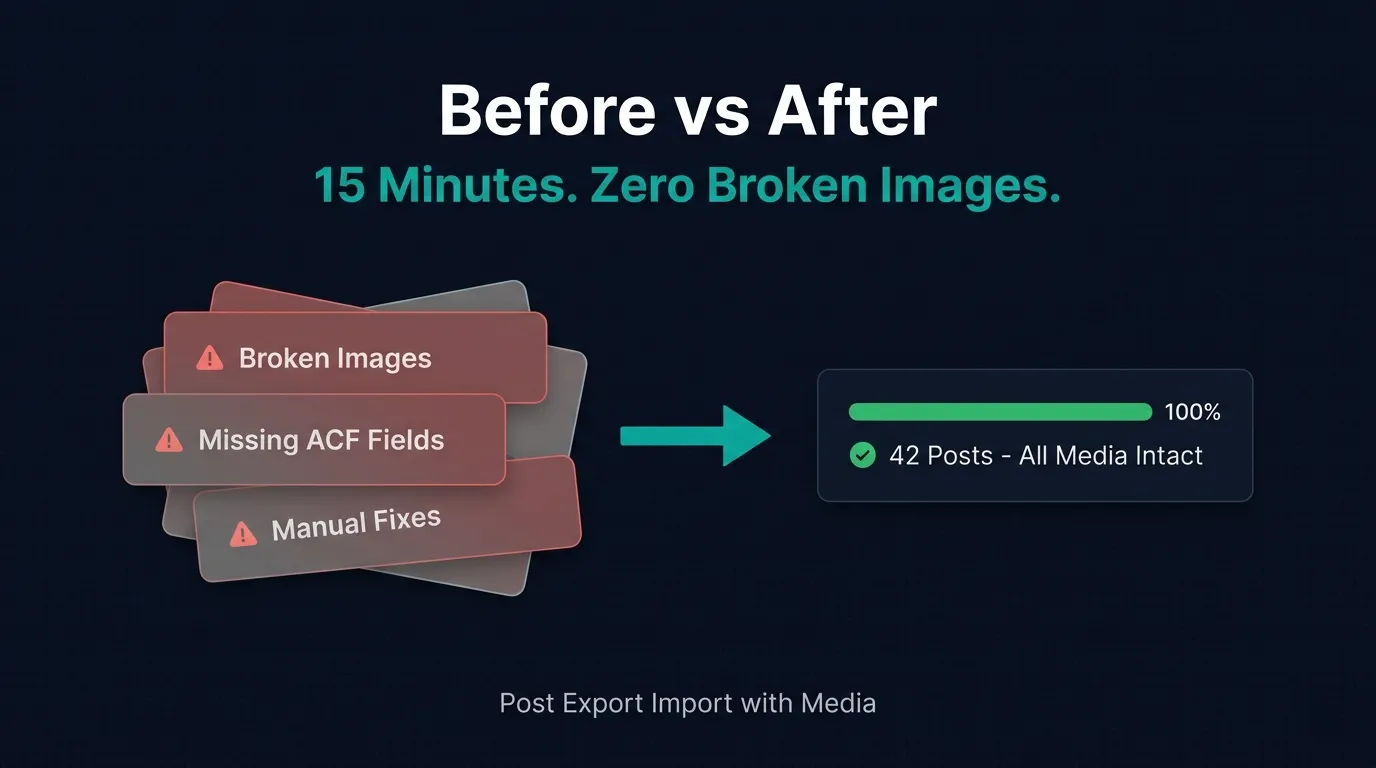
Let me tell you about the worst afternoon I’ve had managing a WordPress site. I needed to move about 200 posts – with all their images, gallery blocks, and custom fields – from an old staging environment to a fresh production install. Simple enough, right? I’d done migrations before. I exported the WXR file, uploaded it, hit import, and waited. The posts came through. But the images? Half of them were broken. The ACF fields? Gone. Two hours of “fixing” later, I had a spreadsheet of missing media URLs and a growing headache. That’s when I went looking for something that could actually migrate WordPress posts with media properly – and found the Post Export Import with Media plugin. This is the story of what happened next.
Why Migrating WordPress Posts with Media Is Harder Than It Looks
Here’s what nobody tells you when you’re starting out: WordPress’s built-in export tool was never designed for full migrations. It creates an XML file that lists your posts and stores attachment references – but it doesn’t bundle the actual image files. So when you import that XML on a new site, WordPress tries to fetch each image from the old domain. If the old site is offline, restricted, or simply slow, you end up with a library full of broken thumbnails. And that’s before you even think about ACF custom fields, multilingual translations via WPML, or Polylang metadata – none of which the native tool touches at all. I’d been fighting this problem for years without realizing there was a purpose-built solution for it. According to WordPress’s own developer documentation, the native importer was designed for basic use cases – not complex production migrations. That gap is exactly what plugins like Post Export Import with Media exist to fill.
“The native WordPress exporter lists attachments. It doesn’t move them. That’s a critical difference most people learn the hard way.”
Finding the Plugin – And What I Saw on the First Screen
I installed the plugin and opened its admin page expecting the usual overwhelming settings panel. Instead, I found something surprisingly clean: two clearly labelled sections sitting side by side on a single page. Post Export & Import on top. Media Export & Import below it. That’s it. No sub-menus scattered across five different screens. No registration wall before you can use the basic features. Just a logical layout that tells you exactly where to start. At the bottom of the page, there’s a System Test panel that shows your PHP memory limit, max execution time, and upload size – the three numbers that determine how aggressive you can be with your batch settings. On the right side, a “How to Use This Plugin” panel gives you a plain-English walkthrough without needing to hunt for a separate documentation page. My first reaction was: why isn’t every plugin built like this?
The 7-Step Method to Migrate WordPress Posts with Media the Right Way
After testing this across three different migrations – a small blog, a mid-size business site, and a WooCommerce store – here’s the exact sequence that works every time.
Step 1: Check Your Server Before Anything Else
Before you export a single post, click the System Test section at the bottom of the plugin page. It pulls your live server values – PHP memory limit, max execution time, upload max filesize – and displays them in one place. This tells you which Server Preset to choose in the Batch Settings. If your memory limit is under 128MB, choose Micro or Light. If you’re on a VPS or managed WordPress host with 256MB or more, Standard, Balanced, or Max will cut your export time significantly. Skipping this step is how people end up with stalled progress bars and incomplete exports.
Step 2: Export Your Media First
This is the step that tripped me up before I found this plugin. You have to deal with media before posts – not after. The plugin gives you two paths. You can export your media library as physical ZIP files (split automatically by a configurable size limit, defaulting to 20 MB each), which you then import on the destination site before bringing in any posts. Or – if your source site stays online – you can skip the media export entirely and let the plugin download media directly from the source URL during the import process. That second option is a lifesaver for time-sensitive migrations where you can’t afford an extended downtime window.
Step 3: Configure Batch Settings for Your Server
Open the Batch Settings section and set your Server Preset first – this auto-fills the individual fields with sensible defaults for your tier. Then tweak if needed. The key settings to understand are Post Batch Size (how many posts process per chunk – start at 10 on shared hosting), Batch Delay (milliseconds between chunks – 500–1000ms on shared hosting, 0–100ms on a fast server), and Export JSON File Size (how many posts per output file – 2,000 is the default, but drop it to 500 on complex sites with lots of custom fields). These aren’t arbitrary numbers. They map directly to your server’s ability to complete each batch within PHP’s execution time limit without throwing a fatal error.
Step 4: Choose Your Export Mode
For most migrations, clicking the Export Posts button and letting the plugin run is all you need. It processes everything – posts, pages, and any registered custom post types – and saves them to a JSON file. But if you’re doing a partial migration, two additional modes become valuable. Export Individually loads your posts as a selectable list (controlled by the Export List Size setting, with a Load Next button for sites with thousands of posts) so you can handpick exactly what to move. Export by Date Range lets you filter by publish date, which is perfect for phased migrations – move last year’s content first, this year’s content next, and so on.
Step 5: Enable ACF Fields and Multilingual Support if Needed
Under the export options, you’ll find two toggles that most migration tools charge extra for. Export Custom ACF Fields bundles all Advanced Custom Fields data attached to your posts directly into the exported JSON. No separate ACF export. No manual field remapping after import. Just enable the toggle, and it’s included. The WPML Multilingual Language Support toggle does the same for multilingual sites – all language variants and translation relationships travel with the post data, meaning your multilingual structure arrives intact on the destination site without any reassignment work.
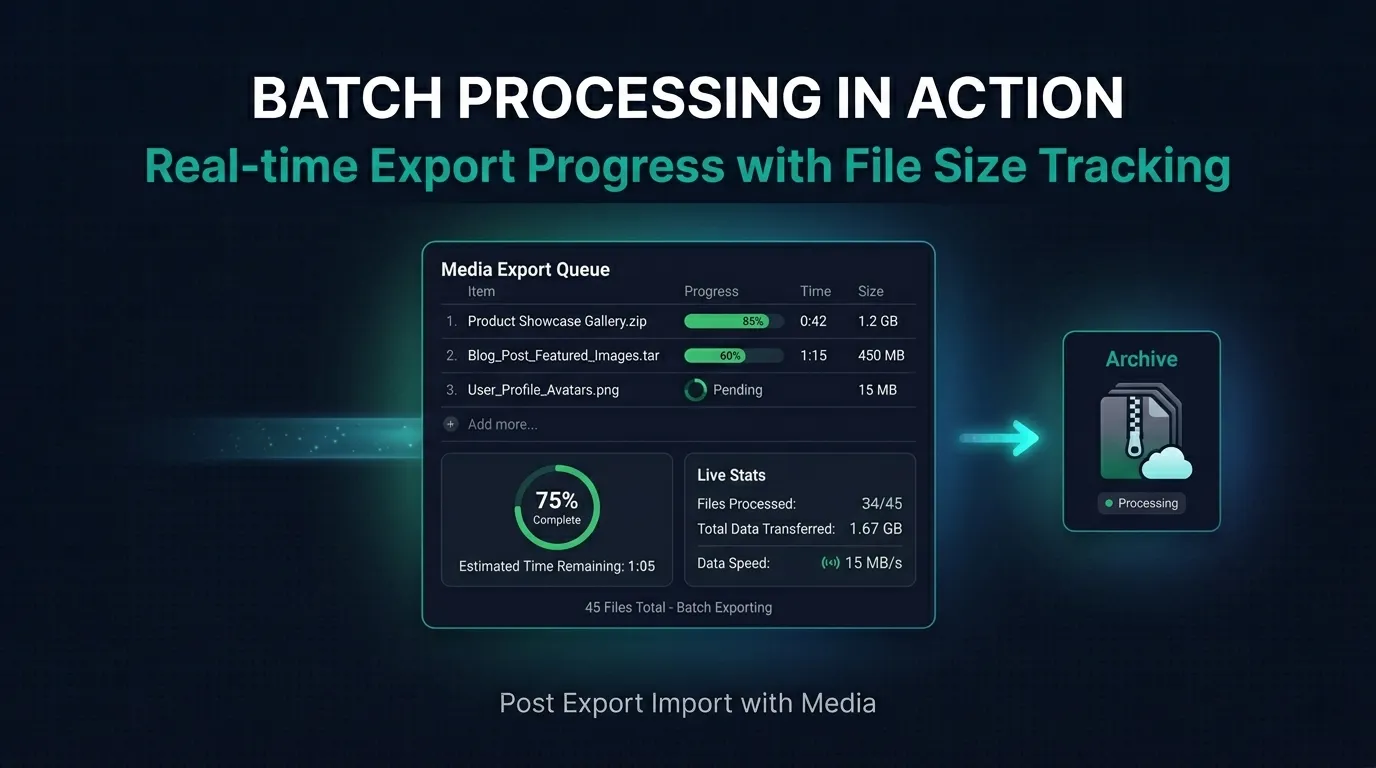
Step 6: Watch the Progress Screen – It Tells You Everything
When you hit Export, the plugin redirects you to a live progress screen. You see the export moving through your batches in real time, with a completion percentage and the current file size updating as it grows. When I exported 42 posts in my first test run, the file came out at just over 1 MB in a matter of seconds. On larger sites with thousands of posts and ACF data, you’ll sit on this screen for a few minutes – but the progress bar keeps moving steadily, which is far more reassuring than staring at a spinning wheel that might just be a server hanging. If something does stall, you’ll know exactly where it stopped, and you can adjust your batch size and retry.
Step 7: Import on the Destination Site
On your destination site, open the same plugin page, scroll to the Import section, and upload your exported JSON file. Click Start Import and the plugin processes every post in the file. Need more control? Enable Import Individually in Mode Options. This loads every post from the JSON as a selectable list – you choose which ones to bring in and skip the rest. This mode saved me on the WooCommerce migration when I realized mid-import that a batch of draft posts from 2019 didn’t need to come across. One checkbox, and they stayed behind.
The Part That Surprised Me Most
I expected a plugin like this to require some kind of setup ritual – API keys, license activation, a wizard with five steps before you can do anything. There was none of that. Everything is on one page. The System Test panel tells you your server’s limits in plain numbers. The “How to Use” sidebar gives you the order of operations in plain English. The Batch Settings have five server presets that handle all the complexity automatically for most users. For someone managing multiple client sites, the time this workflow saves over manual migration – even compared to other export plugins – adds up quickly. What used to take me an afternoon of broken images and field remapping now takes about fifteen minutes end to end. That includes the media export, the batch configuration, and the full import on the other side.Read our full Media Export & Import guide for the complete media workflow walkthrough.
Frequently Asked Questions
Can I migrate WordPress posts with media from a live site without taking it offline?
Yes. The export process is entirely read-only – it pulls data from your database and packages it without modifying anything on the source site. Your live site stays fully operational during the entire export. The only caveat is that if you’re exporting during high-traffic hours on shared hosting, the batch delay setting helps ensure the export process doesn’t compete aggressively with incoming visitor requests for server resources.
What happens to my images if the source site goes offline before I finish importing?
If you exported your media files as ZIP archives before the source site went down, you’re fully covered – the physical files are in those ZIPs and don’t depend on the source domain at all. If you were relying on the direct download option (pulling media from the source URL during import), an offline source site would interrupt that process. This is why the recommended approach is to export media to ZIP files first, especially for any migration where the source site will be decommissioned.
Does this work for WooCommerce product posts?
WooCommerce products are registered as a custom post type (product), and the plugin supports all custom post types registered on your WordPress installation. Select the product post type in the export options and it will be included in your JSON output along with all attached meta data. For product-specific meta like pricing, stock, and variation data stored as post meta, enabling the ACF export option (or ensuring those meta keys are included) gives you the most complete transfer.
My export progress bar stopped. What should I do?
A stalled progress bar almost always points to a server resource limit being hit mid-batch. Open the System Test panel and check your PHP max_execution_time and memory_limit values. Then go to Batch Settings, lower your Post Batch Size (try 5 instead of 10), raise your Batch Delay to 1000ms, and switch to a lower Server Preset. These changes shrink each batch’s resource footprint so it completes within your server’s timeout window. Restart the export after saving the new settings.
Is there a post limit – can I migrate WordPress posts with media at scale?
There’s no hardcoded post limit. The Export JSON File Size setting controls how many posts go into each output file – set it to 500 on a complex site or 2,000 on a simpler one. The Export List Size setting controls the Individual Export pagination, with a Load Next button that lets you page through tens of thousands of posts without loading them all at once. Combined with the batch engine, the plugin is designed to handle sites with thousands of posts on servers of all tiers – you just configure the batch settings to match your server’s capacity. See our full Batch Settings guide for large-site configuration recommendations.
Conclusion
If I’d had this plugin two years ago, I would have saved myself dozens of hours of manual image fixing and field remapping across client migrations. The ability to migrate WordPress posts with media – along with ACF custom fields, WPML translations, and configurable batch processing – all from a single, clean admin page is exactly what a practical migration workflow needs. It’s free, it’s on WordPress.org, and it works the way you’d want a migration tool to work: predictably, visibly, and without destroying your afternoon. Give it a try on your next migration and see how different the process feels when the tool is actually built for the job.

Leave a Comment
Your email address will not be published. Required fields are marked *